
For quite a while, we've been getting a quick "win" on internal penetration tests just simply using some of the most common techniques, including LLMNR and NBNS poisoning, password-spraying attacks, SMB relaying, redirecting LDAP on printers, ETERNALBLUE, etc. These methods have been around for quite some time and it seems like they won't go away any time soon, or at least some of them.
That being said, we've noticed that IPv6 attacks have also been just as successful but not talked about as much as the others, until recently. Adam Toscher (@w00tock) released a blog post a while ago on getting domain admin on networks prior to lunch, and one of the methods discussed there was the use of mitm6 and ntlmrelayx. Since then, mitm6 has become one of our favorites for some time now and for many obvious reasons.
I wanted to just provide a little more information on IPv6, ways mitm6 can be used, and how organizations can protect themselves from such an attack.
Quick IPv6 Recap
IPv6 is the most recent version of the Internet Protocol and has been installed by default on operating systems for quite a while. In fact, Microsoft Windows released Vista with IPv6 supported and now every new Microsoft Windows operating system has it installed as well. Since IPv6 is enabled by default and preferred over IPv4, systems will prioritize available IPv6 network connections.
Let's go over a few risks that this could pose in an enterprise environment.
IPv6 being enabled (by default) and not being used presents an opportunity for a malicious threat actor to deploy a rogue DHCPv6 server onto the network. When either router advertisements are sent by the server, a workstation with IPv6 enabled will (essentially) say "hey, I found a DHCP server that supports IPv6. I want to use that configuration instead of my current IPv4 configuration!"
Understanding How This Works
To get a better understanding of how this attack works, let's take a look at some broadcast traffic on the local network:
Using tcpdump (sample snipped output)
tcpdump: listening on eth0, link-type EN10MB (Ethernet), capture size 262144 bytes
22:19:26.832957 IP6 (hlim 255, next-header ICMPv6 (58) payload length: 32) fe80::7c9b:bb4a:6954:3f36 > ff02::1:ff09:72a: [icmp6 sum ok] ICMP6, neighbor solicitation, length 32, who has fe80::20c:29ff:fe09:72a
	  source link-address option (1), length 8 (1): 2c:54:91:8e:f6:d2
22:19:26.833313 IP6 (hlim 255, next-header ICMPv6 (58) payload length: 32) fe80::20c:29ff:fe09:72a > fe80::7c9b:bb4a:6954:3f36: [icmp6 sum ok] ICMP6, neighbor advertisement, length 32, tgt is fe80::20c:29ff:fe09:72a, Flags [solicited, override]
	  destination link-address option (2), length 8 (1): 00:0c:29:09:07:2a
...snipped...
22:19:26.833498 IP6 (flowlabel 0xf9e9d, hlim 1, next-header UDP (17) payload length: 95) fe80::7c9b:bb4a:6954:3f36.546 > ff02::1:2.547: [udp sum ok] dhcp6 solicit (xid=9fa181 (elapsed-time 0) (client-ID hwaddr/time type 1 time 603481992 2c54918ef6d0) (IA_NA IAID:86791313 T1:0 T2:0) (Client-FQDN) (vendor-class) (option-request vendor-specific-info DNS-server DNS-search-list Client-FQDN))
...snipped...
22:19:27.664930 IP6 (hlim 64, next-header UDP (17) payload length: 108) fe80::20c:29ff:fe09:72a.547 > fe80::7c9b:bb4a:6954:3f36.546: [udp sum ok] dhcp6 reply (xid=9fa181 (client-ID hwaddr/time type 1 time 603481992 2c54918ef6d0) (server-ID hwaddr type 1 000c2909072a) (DNS-server fe80::20c:29ff:fe09:72a) (IA_NA IAID:86791313 T1:200 T2:250 (IA_ADDR fe80::6167:1 pltime:300 vltime:300)))
Using Wireshark
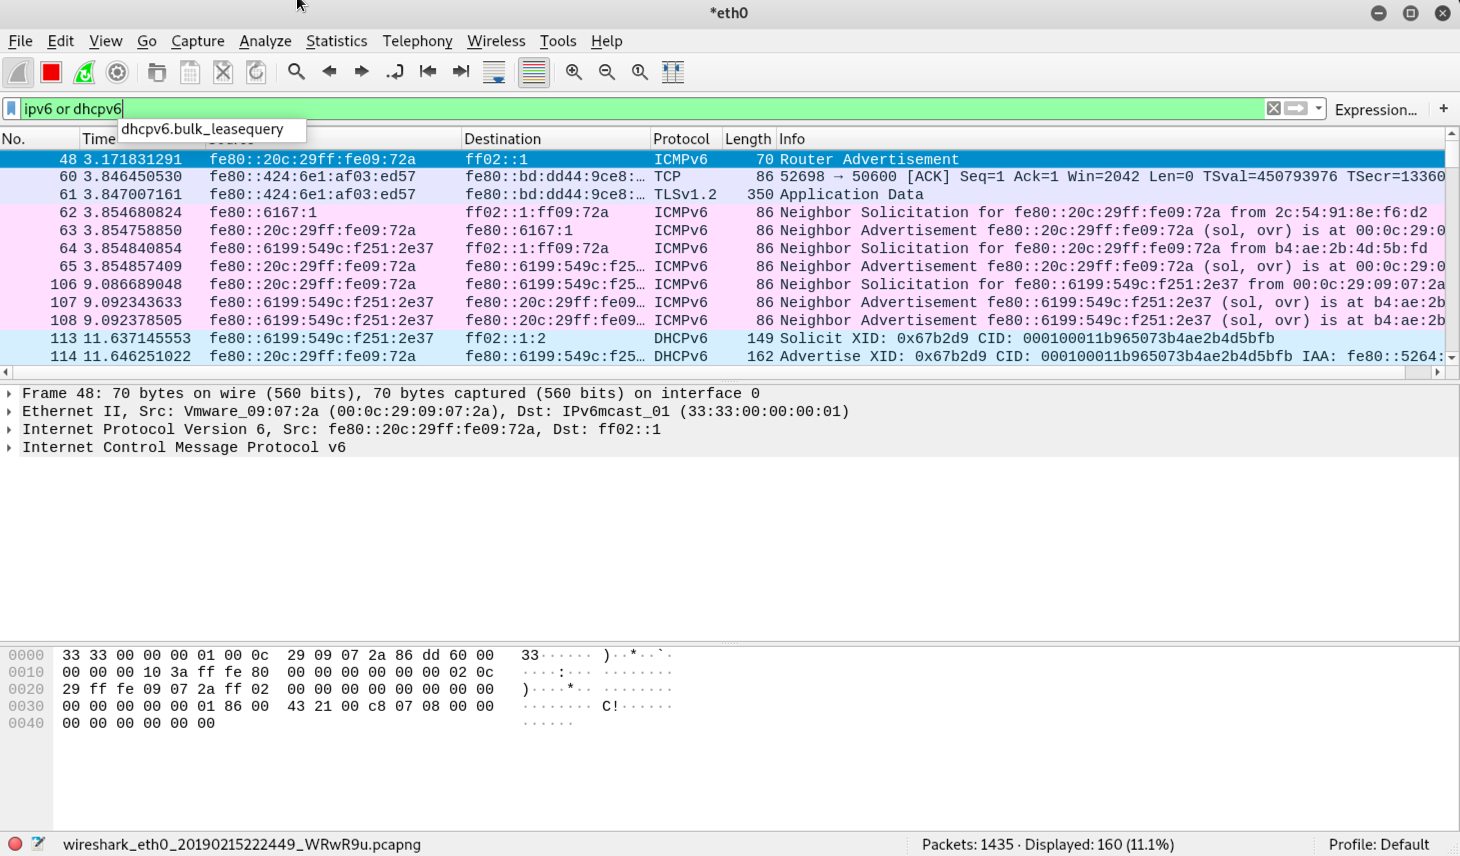
As you can see in both examples, there are several solicitation packets from an IPv6 client on the local network as it searches for a DHCPv6 server. An attacker could respond to these requests and provide DHCPv6 leases to clients.
For a quick step-by-step packet analysis, let's take a look at what exactly is happening here:
- An IPv6 client periodically sends out solicit packets on the local network, seeking a DHCPv6 server.
- When a DHCPv6 server is present, it sends out an advertise packet in response to the solicit packet. This advertise packet informs the client that the server is available for DHCP services.
- The IPv6 client replies with a request packet to the DHCPv6 server, asking for an IPv6 configuration.
- Finally, the DHCPv6 server issues the IPv6 configuration to the IPv6 client, which specifies several things such as the IP address, default gateway, DNS servers, etc. This is all included in the reply packet.
Snatching Credentials with Mitm6
Using mitm6 is relatively simple, although it has quite a few options. For the most part to get it running, you can just run it using the following syntax: mitm6 -i <interface>. Here's an expected output from running this:
[root:kali:~]# mitm6 -i eth1

Starting mitm6 using the following configuration:
Primary adapter: eth1 [00:e1:99:00:59:36]
IPv4 address: 192.168.1.1
IPv6 address: fe80::2e1:ff:fe00:2336
Warning: Not filtering on any domain, mitm6 will reply to all DNS queries.
Unless this is what you want, specify at least one domain with -d
IPv6 address fe80::466:1 is now assigned to mac=00:50:23:56:0f:4c host=system1.example.net ipv4=
Sent spoofed reply for system5.example.net. to fe80::466:1
IPv6 address fe80::466:7 is now assigned to mac=00:50:56:90:d4:56 host=system8 ipv4=
Sent spoofed reply for time.windows.com. to fe80::466:7
Renew reply sent to fe80::466:9
IPv6 address fe80::466:10 is now assigned to mac=00:24:11:23:cf:54 host=system12.example.net ipv4=
Sent spoofed reply for wpad.example.net. to fe80::466:10
Sent spoofed reply for ens.rest.gti.mcafee.com. to fe80::466:10
Because you've assigned systems an IPv6 address configuration, you will essentially need to either forward this traffic to another system or capture it and do something with it (i.e., impersonate a service to interact with the client).
Important Note: When using mitm6, it issues a DHCPv6 lease to clients that last for a period of 300 seconds (or 5 minutes). Due to this, it's possible that several DNS queries will actually fail, resulting in clients not being able to access services that rely on DNS names. You can, however, change this in the source code.
Three common tools that can be combined with mitm6 are:
Snarf
Snarf, written by Joshua Stone and Victor Mata, is an SMB relay tool that actually leaves an SMB relay session open for further use as opposed to simply running a command and destroying the relay session. When combined with mitm6, this tool can be extremely powerful. The ability to continue using relayed session without requiring re-authentication from the client gives you a lot of options.
Responder
Responder is a tool developed by SpiderLabs to monitor the local network for NetBIOS Name Service (NBNS) and Link-Local Multicast Name Resolution (LLMNR) requests. Upon detecting this traffic, it sends spoofed replies to trick the system into communicating with the system running Responder.
In addition to this, it also comes with a list of services that it can impersonate, such as Microsoft SQL (MSSQL), HTTP, LDAP, SMB, etc. So, any time someone tries to connect to these services on your system, they are essentially going to be interacting with Responder.
Using mitm6 + Responder, you are essentially spoofing all (or specific) DNS requests, which will result in those systems landing in the hands of Responder. You can run Responder alongside mitm6 by using some of the default options as you usually would, such as Responder -I eth1
ntlmrelayx
Ntlmrelayx can be used to relay credentials to systems that do not have SMB signing enforced. Ntlmrelayx also stands up an HTTP and SMB server. Any systems that attempt to access the SMB service running on your system (likely to happen as a result of mitm6), they are going to authenticate to ntlmrelayx, which will then relay this authentication attempt to a target of your choice.
Ntlmrelayx can be run, in its minimal functionality, using the following syntax: /path/to/impacket/examples/ntlmrelayx.py -t smb://<target IP address>
Recommendations
There are several recommendations that you can implement to help prevent or reduce the chances of these types of attacks. These recommendations can be applied to prevent rogue DHCP servers on both IPv4 and IPv6 networks.
- DHCP Snooping (IPv4) - DHCP Snooping essentially drops IPv4 DHCP packets that are not originating from an authorized DHCP server. An authorized DHCP server is configured based on the switch's switchport as well as the MAC address of the legitimate DHCP server. In other words, just spoofing the MAC address alone does not equal to being able to offer DHCP requests. This could also be configured on a per VLAN basis.
- DHCPv6 Guard (IPv6) - Similar to DHCP snooping, this essentially inspects packets between a DHCPv6 client and server, and drops them if they are not deemed legitimate.
- DHCPv6-Shield (IPv6) - Also similar to DHCP snooping and is based on packet filtering at layer 2.
- Rogue Device Detection (IPv4 and IPv6) - As usual, organizations should have visibility on their environment as it relates to newly connected devices. Not only would this help identify a potential rogue DHCP server, but also any other unknown devices on the network. There are many free and paid solutions out there to help organizations informed about the systems connected to their environment.
- Disable IPv6 - If IPv6 is not used within your organization, you can disable it altogether to prevent any devices from using it.
As usual, all recommendations that suggest changes to your environment should be tested to reduce the likelihood of a negative impact within your environment.
For any questions, reach out to us on Twitter (@vonahisec) or info@vonahi.io.
About Vonahi Security
Vonahi Security is a cybersecurity consulting firm that offers modern consulting services to help organizations achieve both compliance and security best practices. With over 30 years of combined industry experience in both offensive and defensive security operations, our team of certified consultants have experience working with a significant number of organizations, industries, networks, and technologies. Our service expertise includes Managed Security, Adversary Simulations, Strategy & Review, and User Education & Awareness. Vonahi Security is headquartered in Atlanta, GA. To learn more, visit www.vonahi.io
Stay Informed
